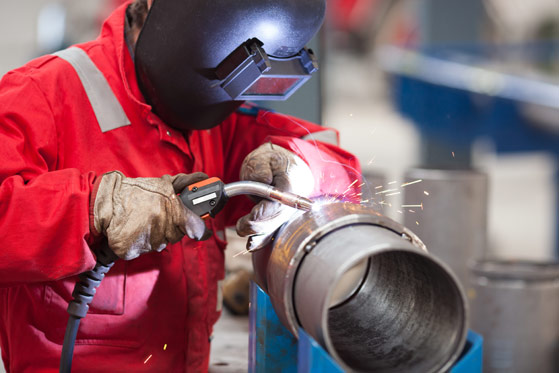
MIG Welding Parameters
 When you initially purchase an MIG welder, chances are you’re unaware of the many features it offers. This can come as an inconvenience, however, as certain features you may not know about can optimize your welding experience tenfold. To learn about how to properly utilize your MIG welders to their full potential, be sure to check out the advice we have to offer here at Canaweld.
Having the Right Equipment
We understand that it can be easier to quickly purchase equipment that’s lower in price in order to make things easier. Without the proper research and investment, however, your welding quality can decrease exponentially — in short, good equipment is a very important part of the equation. The good news is that once you implement the proper research and investment, you will find that there are certain machines that offer features such as auto-set technology, which sets the best parameters possible based on your materials thickness and diameter. This, in turn, makes it a lot easier to focus on the job at hand so you can create the type of weld you want with little to no issues.
The Basics
Regardless of the MIG welder you decide on, you should always look at your manual for device-specific instructions. This ensures that you are following every step of your machine in the most effective and, more importantly, safe way possible. To ensure the most safety and proper execution, be sure to always have your manual on hand. If you misplaced your manual, no need to worry — most welding machines will have a PDF version of their manual posted online.
Even so, there are basic guidelines that we recommend you follow to get the best out of your next project. Once you are able to get the right results, always be sure to record your successes so you can use them next time around.
- Material thickness = amperage: For a general guide, each .001 of material you use will require approximately 1 amp of output.
- Find the wire for your amperage: In general, there’s an easy to follow outline for what wire you should go with based on your amperage. It goes as follows:
- 30-130 amps: .023”
- 40-145 amps: .030”
- 50-180 amps: .035”
- 75-250 amps: .045”
- Set Your Voltage: In simplest terms, voltage determines the overall height & width of a bead. In most cases, a chart online or specifications in your manual will determine how much voltage you will need. It is also important to note that there is a relation between arc voltage and the length of an arc. When you use a short arc, you’ll get a more narrow bead. When you use a longer one, you’ll get a wider and flatter bead.
- Set the speed of the wire feed: Wire speed controls a lot of outcomes including the amperage as well as the penetration of your weld. Set it too high and burn-through can occur. When a weld specification sheet is unavailable, you can use ones online that utilize the multiplier method as a good reference point.
Let Us Help
If you have ever been in need of quality welding products for your next project, we here at Canaweld can help. This includes everything including safety gear, electrodes, welding machines and much more! With such a wide variety of quality products, all designed and assembled here in Canada, you’ll have all the tools necessary to complete your welding projects in the best way possible. To find out more about our MIG welders be sure to contact us at (416) 548-5650 today!